UNLOCK THE FULL ZEN SCRIPT LIBRARY
Access 2,200+ Scripts Today!

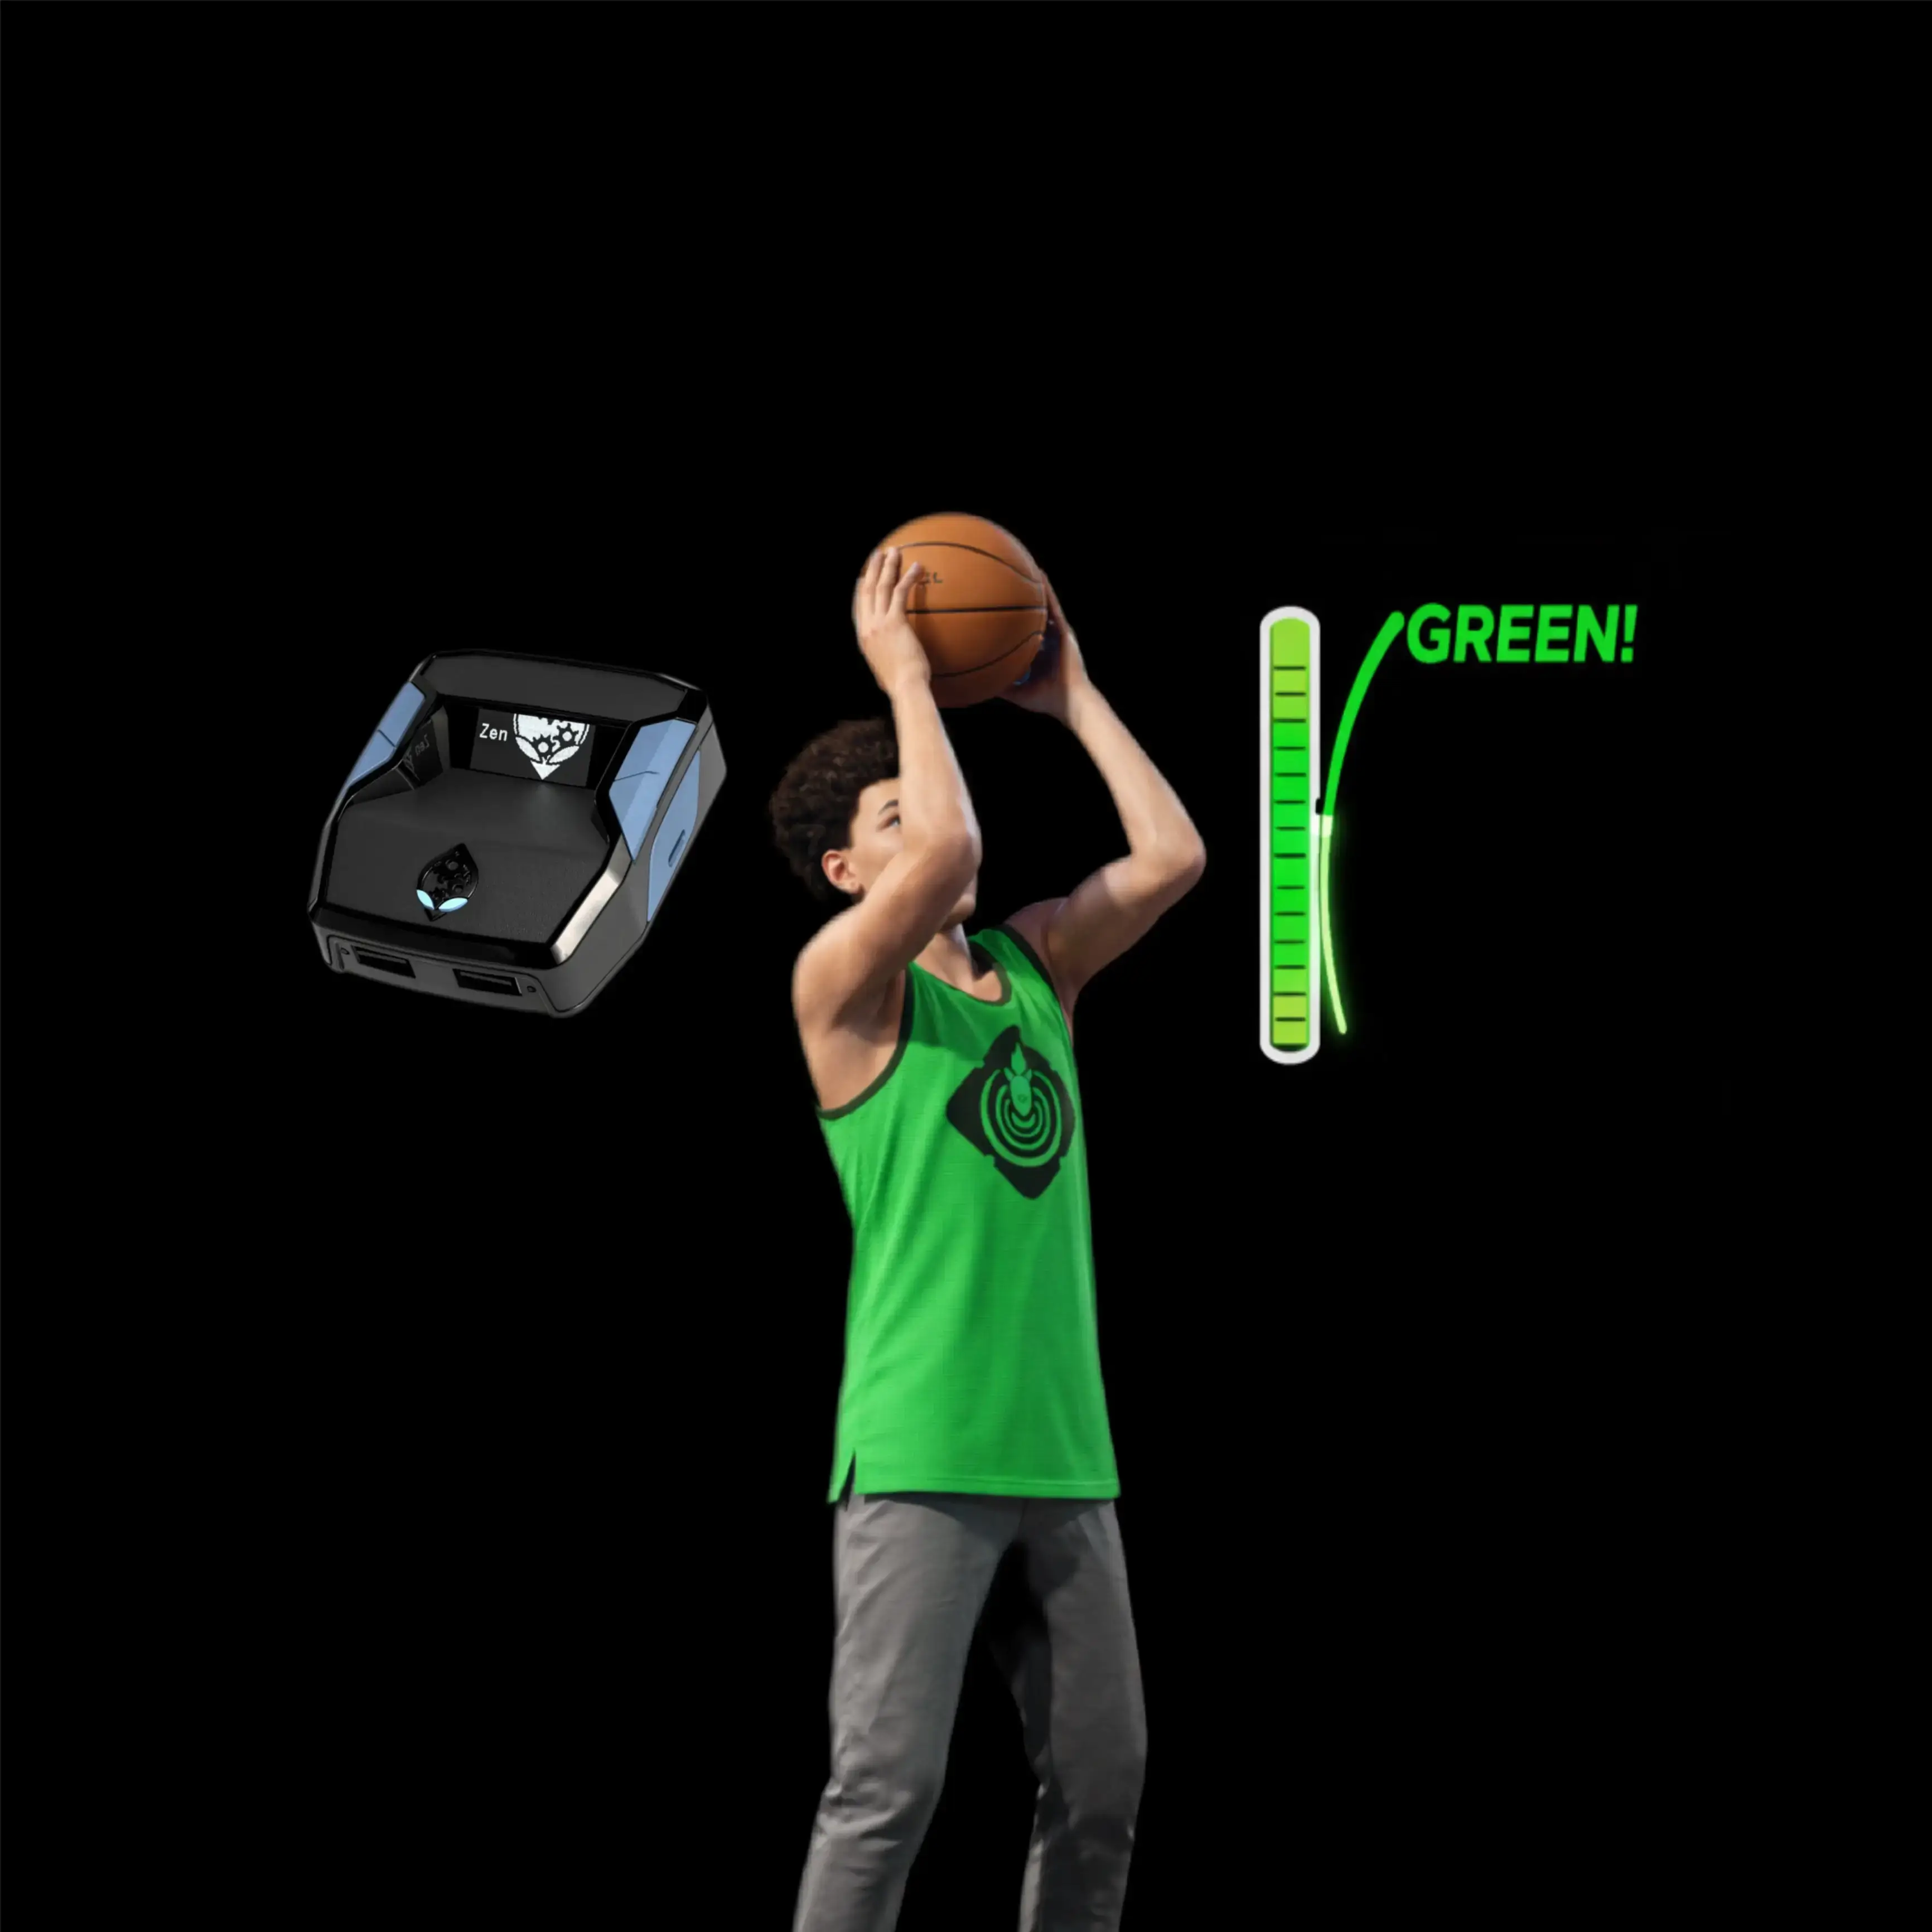








Auto Green V2 – NBA 2K25 Cronus Zen Script

Features

Guides

Plug and Play
Guides
Player Profiles
You have 3 different player profiles:
-
Profile 1 (Blue Color LED)
-
Profile 2 (Pink Color LED)
-
Profile 3 (Aqua Color LED)
Each of the 3 profiles also has a temporary value (Temp Val) which is adjustable.
This Temp Val will be added to or subtracted from the pre-stored value to allow you to make fine adjustments to your shots.
Note: Temp Val is profile-dependent. If you change the player on a profile, remember to reset the Temp Val.
You can reset these temporary values from the ModPlayer by holding CROSS/A for 500ms. (You can only reset the temp values of the active profile.)
Adjusting Your Shot Timing
You can write down your adjusted values on a piece of paper.
You will then be able to modify the values in the corresponding arrays.
This way, while in-game, when you change Team or Player, your shot timing will already be perfectly adjusted for you.
Note: Player names can be up to 11 characters long.
Features in Each Profile
-
Green Shot with its own toggle and adjustable values
-
Jump Shot with its own toggle and adjustable values
-
Free Throw with its own toggle and adjustable values
-
Pro Shot with its own toggle and adjustable values
Global Features for All Profiles
-
Shot Recorder: Records the time for a shot to use it later with a button combo.
-
Sprint: Sets the trigger to fully held when the Left Stick is pushed over 80 percent.
-
Swap Trigger/Bumper: Global toggle to swap triggers and bumpers.
-
VM Speed: Helps with lag and delay to the console.
Shot Mods with Adjustable Values
All of these perform the same function—setting the timing for a shot:
-
Green Shot:
-
Set the time for the green shot mod.
-
Trigger: X/Square to shoot.
-
-
Free Throw:
-
Set the time for free throw mod.
-
Trigger: X/Square to shoot.
-
-
Jump Shot:
-
Set the time for jump shot mod.
-
Trigger: X/Square to shoot.
-
-
Dribbles:
-
Perform a dribble on either the Right Stick (RS) or Left Stick (LS) by pressing the stick inward.
-
Note: A good default release time is between 200ms and 500ms.
Warning: It is recommended to use only one shot mod active at a time. Use quick toggles to turn them on/off once enabled in the menu.
Global Features
-
Button Layout:
-
Match your controls from the game to the script so everything functions properly.
-
-
Stick Layout:
-
Match your controls from the game to the script layout.
-
-
Green Shot & Jump Shot:
-
Set your own timing for specific spots you like to throw from.
-
-
Free Throw:
-
Timing adjustments ensure consistent performance.
-
-
Swap Trigger/Bumper:
-
Swap L1/LB with L2/LT and R1/RB with R2/RT.
-
Pro Shot & Rhythm Shot
-
Pro Shot:
-
Allows Right Stick press down, then up, bottom-right to top-left, or bottom-left to top-right based on your hold and release times.
Example: The hold time from Right Stick DOWN to Right Stick UP. Release time can be default or 200ms.
-
-
Rhythm Shot:
-
Similar to Pro Shot but activated by pressing Left Bumper (LB/L1).
-
Use the Square Button and release your jump shot at the SET POINT.
-
The script automatically pushes the Right Stick for you, but you must time your shot.
-
Notes:
Rhythm shooting generally takes longer compared to regular shooting.
Different jumpshots have different Rhythm Timing.
Shoot at the SET POINT for best results.
Your shot release time does not matter.
The Rhythm Timing window for good shots is about 120ms or more.
If your shot is too late or slow, decrease your Rhythm Timing.
If your shot is too early or fast, increase your Rhythm Timing.
Rec Shot (Do Not Use with Other Shot Mods on One Profile!)
-
Turn mod ON and make your shot.
-
If you like the shot, use the D-Pads to set the shot.
This records how long the shot button is held, and saves it.
You can assign it to a D-Pad for future use:
-
DPAD UP = Rec Shot 1
-
DPAD DOWN = Rec Shot 2
-
DPAD LEFT = Rec Shot 3
-
DPAD RIGHT = Rec Shot 4
Notes:
You will feel one vibration when the shot is recorded.
You will feel two vibrations when it is saved.
How to use the saved shot:
-
Hold Left Bumper (LB/L1) & press Y = Shot saved to UP D-Pad
-
Hold Left Bumper (LB/L1) & press A = Shot saved to DOWN D-Pad
-
Hold Left Bumper (LB/L1) & press B = Shot saved to RIGHT D-Pad
-
Hold Left Bumper (LB/L1) & press X = Shot saved to LEFT D-Pad
Additional Features
-
Sprint:
-
Player auto-moves when Left Stick pushed over 80%.
-
-
Rumbles:
-
Blocks all controller vibrations and adaptive triggers. (In-game rumble must be ON.)
-
-
VM Control:
Adjusts Cronus Zen processor speed to reduce lag:-
Default (10ms) = 0
-
Xbox One (8ms) = 1
-
PS4 (6ms) = 2
-
PS5 (4ms) = 3
-
Xbox Series (2ms) = 4
-
PC (1ms) = 5
-
Toggle Information
-
KillSwitch:
-
Disable script quickly when mods start running unexpectedly.
-
-
Resync Button:
-
Hold L3/LS and tap Triangle/Y to resync profiles.
-
-
Speed Toggle:
-
Quickly toggle mods ON/OFF without using the full menu.
-
-
Speed Player Swap:
-
Quickly switch teams and players without entering ModPlayer.
-
Instructions - Please Read Carefully
How to Use the Mod Menu
-
Open Mod Menu:
-
Press L2/LT + OPTIONS/MENU.
-
-
Choose Profile:
-
Tap Triangle/Y to select Player 1, Player 2, or Player 3.
-
-
Navigate Mods:
-
Use Left/Right D-Pad to move between mods.
-
Tap Up/Down D-Pad to turn mods ON or OFF.
-
-
Exit Mod Menu:
-
Double-tap Circle/B to save settings and exit.
-
How to Use ModEdit
-
Edit Values:
-
After selecting a mod, tap CROSS/A to enter ModEdit.
-
Use Left/Right D-Pad to switch values.
-
Use Up/Down D-Pad to adjust values.
-
-
Exit ModEdit:
-
Press Circle/B to return to Mod Menu.
-
How to Use ModPlayer
-
Choose Profile:
-
Tap Triangle/Y.
-
-
Switch Teams/Players:
-
Use Up/Down D-Pad for teams.
-
Use Left/Right D-Pad for players.
-
-
Reset Temp Val:
-
Hold CROSS/A for 500ms to restore default shot meter values.
-
-
Exit ModPlayer:
-
Tap Circle/B to return to Mod Menu.
-
Double-tap Circle/B to exit all menus.
-
Installation & setup
Follow these steps to install the GPC download on your Cronus Zen.
-
Download the script
Use the download button on this page and save the .gpc file to your computer.
-
Connect your Cronus Zen
Open Zen Studio Live in Chrome or Edge.
- Connect your Cronus Zen through the PROG port and select 'Connect Device'.
-
Open the script in the Editor tab
Drag the downloaded .gpc file into the 'Editor' tab.
-
Add the script to a device slot
Go to the Device tab, select MY SCRIPTS at the top right, then drag the chosen .gpc file into an empty slot.
-
Program the Cronus Zen
Click the flashing orange Program button at the top to save the script to your Zen.
-
Connect, select your slot and test
After programming finishes, connect the Zen to your console or PC using your platform’s connection setup. Select the installed script’s slot, then follow the creator’s button layout and starting values. Test before changing settings, and adjust one value at a time.
Need help with setup?
If the Zen is not detected, check the PROG connection and use a USB cable that supports data. If a GPC file fails to compile, check that the download is complete and that it supports your version of Zen Studio.
Auto Green V2: common questions
How do I install Auto Green V2?
This download is a GPC script. Follow the numbered instructions above to open it in Zen Studio, assign a device slot and program your Zen.
What access do I need for Auto Green V2?
This script is listed in the premium library. Sign in with a plan that includes this tier; your download button shows the access available to your account.
Where can I find settings for Auto Green V2?
The creator’s guide is included on this page. Sign in with the required access to view them, and match the script to your in-game settings before making adjustments.