ACCÉDEZ À TOUTE LA BIBLIOTHÈQUE DE SCRIPTS ZEN
Accès 2 200+ scripts dès aujourd’hui !

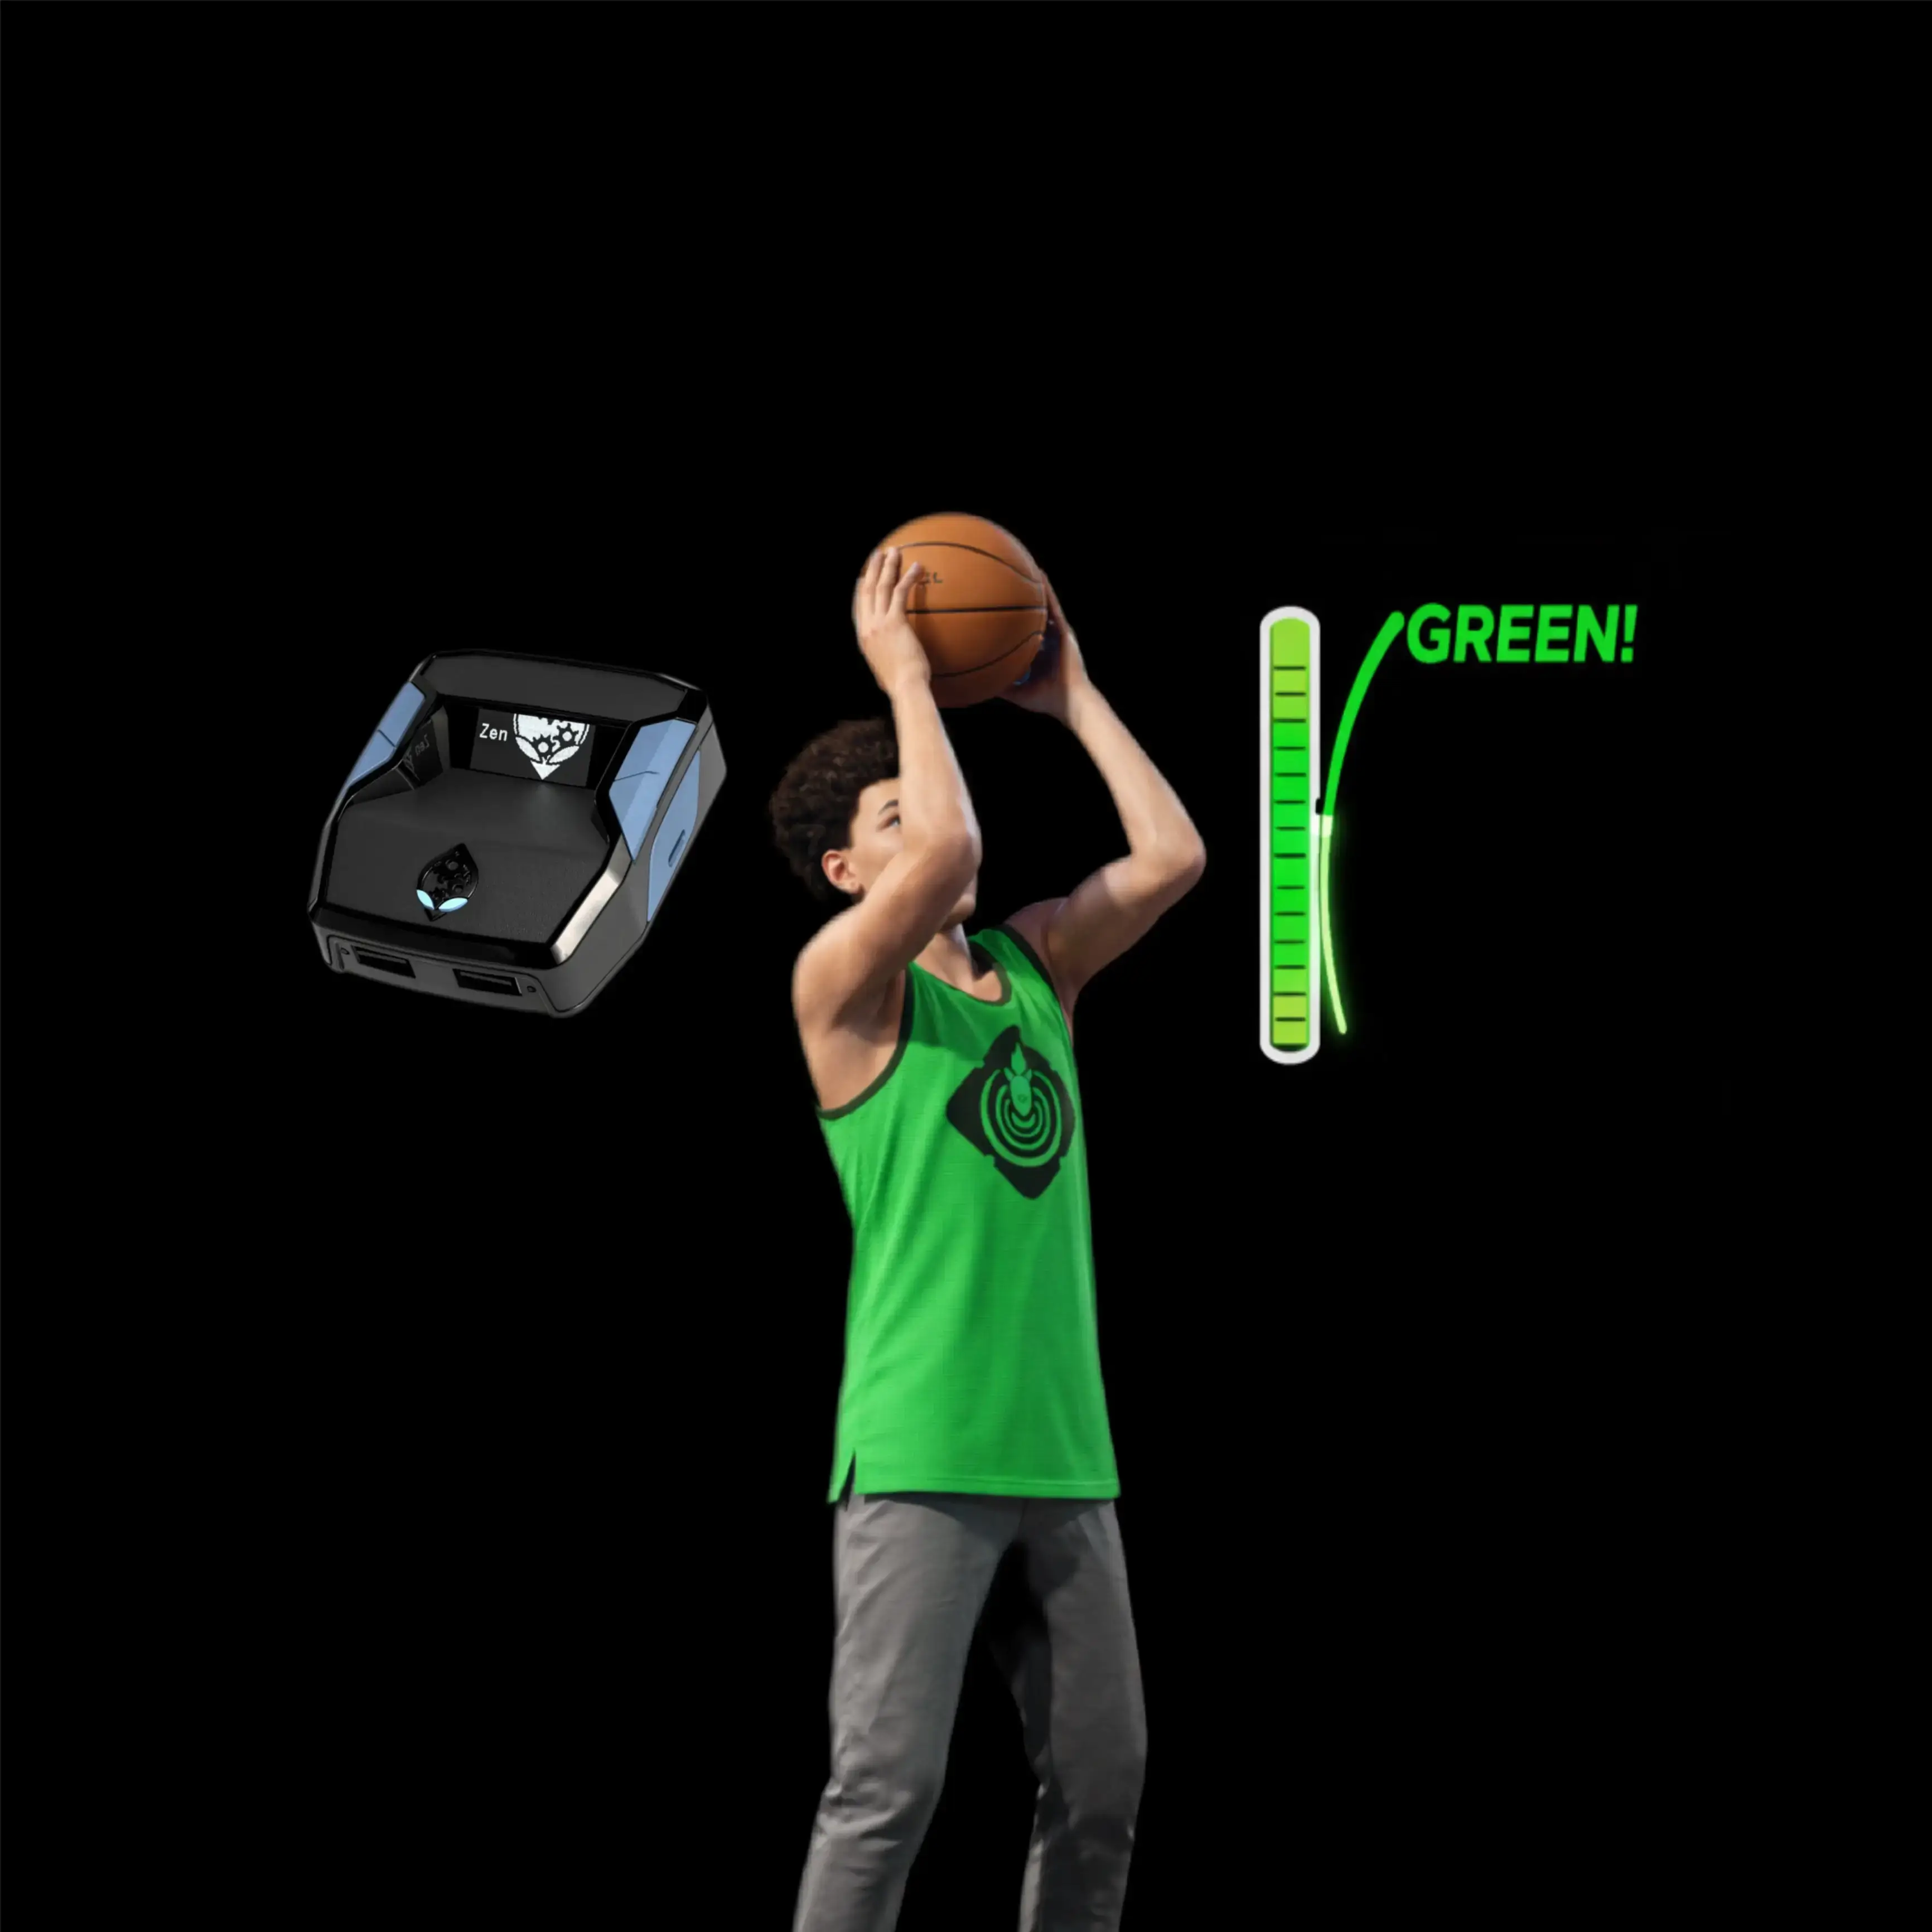










MVP V8 : script Cronus Zen pour NBA 2k26
Détails du script
- Jeu
- NBA 2k26
- Créateur
 Avenged
- Accès
- Ultimate
- Format du téléchargement
- .GPC
- Plateformes compatibles
- Multiplateforme
- Version
- V8
- Fiche mise à jour
MVP V8 est un script Zen pour NBA 2k26 créé par Avenged. Consultez les informations de téléchargement et de configuration ci-dessous.
Ce script Cronus Zen pour Nba 2k26 est développé par Avenged.
Mods inclus :
- Button Rhythm
- Change Of Pace
- Clamp Assist
- Contact Dunk
- Coupure de boost
- Defense Assist
- Dribble Combos
- Dribble
- Endurance
- Explosive Step
- Fade Shot
- Go To Shot Combo
- Coup de coeur
- Infinite Stamina
- Prise de vue instantanée
- Meter Dunk
- Normal Dunk
- Quick Stop
- Mode d'Quick Stop
- Remap Square
- Rs Shooting
- Soft Triggers
- Sprint Amplify
- Square Go-To Shot
- Square Shooting
- Coups turbo
- Unlimited Sprint
Fonctionnalités

Menu des mods

Réglages

Guides
Guides
Opening The Menu
Hold your menu button to open the menu. Use Dpad Up and Dpad Down to move through categories, then press Cross to enter one.
Inside a category, use Dpad Left and Dpad Right to switch pages. The small dots at the bottom show which page you are on. Press Circle to go back at any time.
Go To Shot And SQ Go To Shot
Go To Shot and SQ Go To Shot are toggle features. Only one can be active at a time.
- Hold Dpad Up for one second to turn Go To Shot on or off.
- Hold Dpad Left for one second to turn SQ Go To Shot on or off.
- Turning one on will automatically turn the other one off.
Light Bar Meanings
- Green: Normal mode
- Yellow: Go To Shot is active
- Purple/Magenta: SQ Go To Shot is active
- Blue: Menu is open
How To Shoot With Go To Shot Or SQ Go To Shot
Once the light is yellow or purple, hold R2 and Dpad Down at the same time, then let go to shoot.
Square is not used for this and will still work normally.
Hop Back
To set up Hop Back, go to the Dribbles category, choose Dribble D-Pad Up or Dribble D-Pad Down, then scroll until you find Hop Back.
To use it in-game, hold R2 and flick the right stick down.
Shooting Settings
Button Rhythm
Makes Square act like a timed shot button. Turn it on with Dpad Up and off with Dpad Down. Hold Square, then release it at the correct time.
Tempo MS
Adjusts shot timing. Use Dpad Up and Dpad Down to change the number. Once set, it works automatically.
RS Shoot
Lets you shoot using the right stick. Turn it on with Dpad Up and off with Dpad Down. Move the right stick, hold it, then let go to shoot.
Button Remap
Lets L3 or R3 act like Square. Dpad Up selects R3 and Dpad Down selects L3. Press the selected stick button to shoot.
Fade Settings
Fade Shot
Adds a fadeaway shot option. Turn it on with Dpad Up and off with Dpad Down. Use it by holding L1 and Square.
Fade Delay
Adds extra wait time for fadeaways. Use Dpad Up and Dpad Down to change the number. Once set, it works automatically.
Go To Shot Settings
Turbo Shots
Changes the shot direction style. Dpad Up selects Turbo Fade and Dpad Down selects Hop Jumper.
Go To Shot
Turns on the yellow light system. Hold Dpad Up to toggle it on or off. Once active, hold R2 and Dpad Down to shoot.
Go To Tempo
Controls shot stick speed. Use Dpad Up and Dpad Down to adjust the number.
Go To Hold
Controls how long the script holds before shooting. Use Dpad Up and Dpad Down to adjust the number.
SQ Go To Shot
Turns on the purple light system. Hold Dpad Left to toggle it on or off. Once active, hold R2 and Dpad Down to shoot.
Automation Settings
Automated Shot
Shoots automatically. Turn it on with Dpad Up and off with Dpad Down. Press R3 to use it, or L3 if Button Remap is set to L3.
Automated Speed
Controls how fast the automated shot moves. Use Dpad Up and Dpad Down to adjust it. Hold R1 while adjusting for bigger jumps.
Automated Tempo
Controls the delay before the automated shot fires. Use Dpad Up and Dpad Down to adjust the number.
Movement Settings
Quick Stop
Helps you stop quickly before shooting. Cycles between Off, Auto, and LT. Use it by sprinting and tapping Square.
Explosive Step
Adds a speed burst at the start of movement. Turn it on with Dpad Up and off with Dpad Down.
Explosive Power
Controls how strong the explosive step is. Use Dpad Up and Dpad Down to adjust the number.
Sprint Amplify
Makes sprinting faster. Turn it on with Dpad Up and off with Dpad Down.
Sprint Power
Controls how much faster the sprint boost is. Use Dpad Up and Dpad Down to adjust the number.
Cut Boost
Adds a speed boost when cutting. Turn it on with Dpad Up and off with Dpad Down.
Cut Power
Controls how strong the cut boost is. Use Dpad Up and Dpad Down to adjust the number.
Change Of Pace
Helps you shake defenders by changing movement speed. Turn it on with Dpad Up and off with Dpad Down. Walk first, then hold R2.
Endurance
Helps keep stamina up. Turn it on with Dpad Up and off with Dpad Down.
Stamina Floor
Sets the lowest stamina level allowed. Use Dpad Up and Dpad Down to adjust the number.
Unlimited Sprint
Helps prevent sprint from running out. Turn it on with Dpad Up and off with Dpad Down.
Dribble Settings
Dribble D-Pad Up
Lets you choose a move for Dpad Up. Scroll through moves with Dpad Up and Dpad Down, then press Dpad Up while dribbling to use it.
Dribble D-Pad Down
Lets you choose a move for Dpad Down. Scroll through moves with Dpad Up and Dpad Down, then press Dpad Down while dribbling to use it.
Dribble D-Pad Left
Lets you choose a move for Dpad Left. Scroll through moves with Dpad Up and Dpad Down, then press Dpad Left while dribbling to use it.
Dribble D-Pad Right
Lets you choose a move for Dpad Right. Scroll through moves with Dpad Up and Dpad Down, then press Dpad Right while dribbling to use it.
Dribble Moves
For Dpad Up and Dpad Down, you can choose:
- Off
- BTB Spam
- Curry
- D Booker
- Moonwalk
- Size Up
- Hop Back
For Dpad Left and Dpad Right, you can choose:
- Off
- B Break
- Escape
- Momentum
- Crossover
- QuickBTB
- Shamgod
Defense Settings
Clamp Int On
Helps you stick to your man on defense. Turn it on with Dpad Up and off with Dpad Down. Use it by holding L2 and moving the right stick.
Clamp Intensity
Controls how strong the clamp help is. Use Dpad Up and Dpad Down to adjust the number.
Clamp Lat On
Adds side-to-side defensive help. Turn it on with Dpad Up and off with Dpad Down.
Clamp Lat Bias
Balances the side-to-side defensive help. Use Dpad Up and Dpad Down to adjust the number.
Defense Assist
Makes the right stick follow your movement automatically. Turn it on with Dpad Up and off with Dpad Down. Use it by holding L2 and R1 while moving the left stick.
Dunk Settings
Contact Active
Turns on contact dunks. Turn it on with Dpad Up and off with Dpad Down. To use it, drive toward the basket, hold R2, then press Circle or L1 depending on your trigger setting.
Contact Trigger
Chooses which button activates contact dunks. Dpad Up selects Circle and R2. Dpad Down selects L1 and R2.
Contact Style
Changes the contact dunk animation style. Use Dpad Up and Dpad Down to cycle through styles.
Normal Active
Turns on normal dunks. Turn it on with Dpad Up and off with Dpad Down. To use it, drive toward the basket, hold R2, then press Circle or L1 depending on your trigger setting.
Normal Trigger
Chooses which button activates normal dunks. Dpad Up selects Circle and R2. Dpad Down selects L1 and R2.
Normal Style
Changes the normal dunk animation style. Use Dpad Up and Dpad Down to cycle through styles.
Record L1
Saves your own dunk timing for L1. Press Dpad Up to start recording or Dpad Down to cancel. Do one real dunk to save the timing.
Record Circle
Saves your own dunk timing for Circle. Press Dpad Up to start recording or Dpad Down to cancel. Do one real dunk to save the timing.
Contact Dunk Meter
Times the contact dunk meter for you. Turn it on with Dpad Up and off with Dpad Down.
Contact Hold
Controls how long the contact dunk lasts. Use Dpad Up and Dpad Down to adjust the number.
Normal Hold
Controls how long the normal dunk lasts. Use Dpad Up and Dpad Down to adjust the number.
Dunk Meter
Adds a simpler dunk meter system. Turn it on with Dpad Up and off with Dpad Down. Use it by holding R2 and L1, then releasing either button.
RS Shoot Settings
RS Shoot
Lets you shoot using the right stick. Turn it on with Dpad Up and off with Dpad Down. Move the stick, hold it, then let go to shoot.
RS Hold Time
Controls how long the right stick is held. Use Dpad Up and Dpad Down to adjust the number.
SQ Shoot Settings
SQ Shoot
Makes Square work as a timed shot button. Turn it on with Dpad Up and off with Dpad Down. Hold Square and the script will release it automatically.
SQ Timing
Controls how long Square is held before release. Use Dpad Up and Dpad Down to adjust the number.
Misc Settings
Soft Triggers
Makes the triggers act like simple on and off buttons. Turn it on with Dpad Up and off with Dpad Down.
Profile Settings
Profile Select
Lets you save and load settings. Use Dpad Up and Dpad Down to browse profiles, then press Cross to load the selected profile.
Typing Exact Numbers
For number settings, use Dpad Up and Dpad Down to adjust slowly, or press Cross to open the number pad and type the exact value.
Quick Recap
- Dpad Up arms Go To Shot.
- Dpad Left arms SQ Go To Shot.
- Hold R2 and Dpad Down to shoot once armed.
- Yellow light means Go To Shot is active.
- Purple/Magenta light means SQ Go To Shot is active.
- Blue light means the menu is open.
- Hop Back is used by holding R2 and flicking the right stick down.
Feuille de calcul des valeurs
Installation et configuration
Suivez ces étapes pour installer le fichier GPC téléchargé sur votre Cronus Zen.
-
Téléchargez le script
Utilisez le bouton de téléchargement de cette page et enregistrez le fichier .gpc sur votre ordinateur.
-
Connectez votre Cronus Zen
Ouvrez Zen Studio Live dans Chrome ou Edge.
- Connectez votre Cronus Zen par le port PROG et sélectionnez « Connect Device ».
-
Ouvrez le script dans l'onglet Éditeur
Faites glisser le fichier .gpc téléchargé dans l'onglet « Éditeur ».
-
Ajouter le script à un emplacement de périphérique
Allez dans l'onglet Appareil, sélectionnez MES SCRIPTS en haut à droite, puis faites glisser le fichier .gpc choisi dans un emplacement vide.
-
Programmer le Cronus Zen
Cliquez sur le bouton Programme orange clignotant en haut pour enregistrer le script sur votre Zen.
-
Connectez, sélectionnez votre emplacement et testez
Une fois la programmation terminée, connectez le Zen à votre console ou PC en suivant la procédure adaptée à votre plateforme. Sélectionnez l’emplacement du script installé, puis suivez la configuration des touches et les valeurs de départ du créateur. Testez avant de modifier les réglages et ajustez une seule valeur à la fois.
Besoin d’aide pour la configuration ?
Si le Zen n’est pas détecté, vérifiez la connexion PROG et utilisez un câble USB permettant le transfert de données. Si un fichier GPC ne se compile pas, vérifiez que le téléchargement est complet et que le fichier est compatible avec votre version de Zen Studio.
MVP V8 : questions fréquentes
Comment installer MVP V8 ?
Ce téléchargement est un script GPC. Suivez les étapes numérotées ci-dessus pour l’ouvrir dans Zen Studio, l’affecter à un emplacement et programmer votre Zen.
Quel accès faut-il pour MVP V8 ?
Ce script figure dans la bibliothèque ultimate. Connectez-vous avec une offre qui inclut ce niveau ; le bouton de téléchargement indique l’accès disponible pour votre compte.
Où trouver les réglages de MVP V8 ?
Le guide du créateur figure sur cette page. La section Valeurs recommandées contient ses valeurs de départ. Connectez-vous avec l’accès requis pour les consulter et adaptez le script à vos réglages en jeu avant toute modification.