ACCÉDEZ À TOUTE LA BIBLIOTHÈQUE DE SCRIPTS ZEN
Accédez aux 2 000+ scripts dès aujourd’hui !






OBTENIR L’ACCÈS IMMÉDIAT
100+ scripts gratuits • 5 scripts Premium chaque semaine • Aucune carte bancaire requise
4,8/5 selon plus de 40 000 utilisateurs



Ultimate
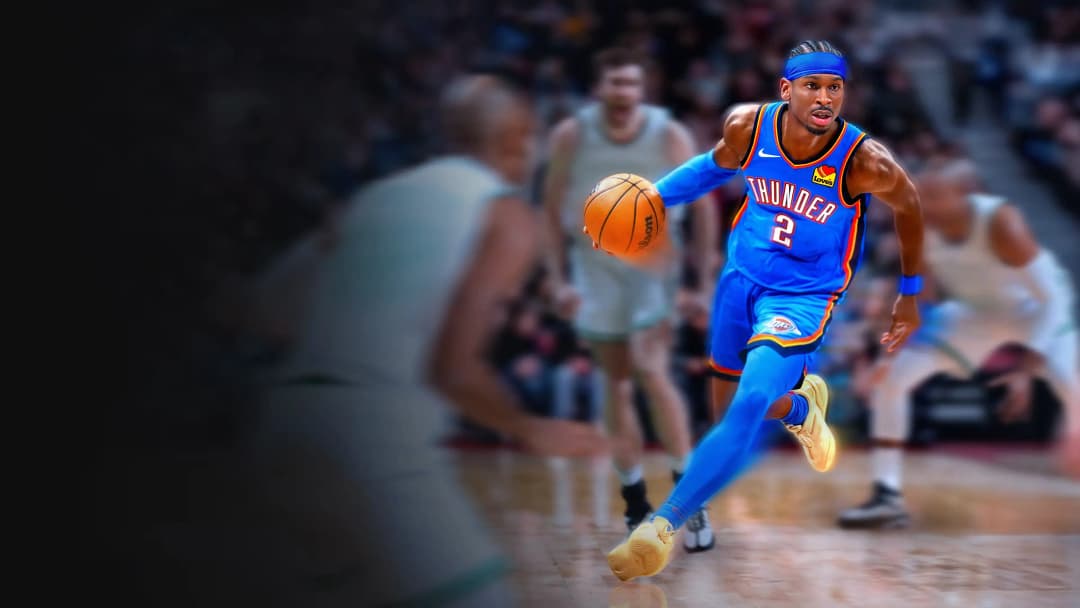
NBA 2k27
Peak


Détails du script
Peak est un script Cronus Zen pour NBA 2K27 créé par SkyGPC, avec les fonctions Auto-Green et Rhythm Shooting. L’accès dépend de votre compte Cronus Zen Central et de votre offre actuelle.
Fonctionnalités

Menu des mods
Ce script dispose d’un menu de mods personnalisable

Réglages
Ce script est livré avec des valeurs recommandées

Guides
Ce script comprend un guide d’utilisation
Guides
Core Controls
- Open / close menu: L2 + Options
- Arm / disarm entire script: L2 + Share
- Dim red Zen light = script is disarmed
- Auto Green trigger: R3
- Normal Shot Button: L3 or R3
- If using Auto Green, set Shot Button to L3 so R3 stays dedicated to Auto Green
- Menu navigation:
- Up / Down = move between mods
- Left / Right = change setting
- Cross = edit a numerical value
- Circle = back / save
- Hold L2 while adjusting a value to make larger changes
- Settings save automatically after you change them
Auto Green
- Auto Green automatically handles your shot release timing
- Press R3 once
- PEAK presses the shoot button, holds it for your Auto Green Timing value, then releases it
- Do not hold R3; one click is enough
- You still control when and where you shoot
- Auto Green Timing is the most important value in the script
- If shots release early, increase Auto Green Timing
- If shots release late, decrease Auto Green Timing
- Adjust in roughly 10-15 ms increments
- Test around 10-15 shots before changing it again
- Holding R1 prevents Auto Green from shooting and allows passing normally
Auto Green Fades
- Works alongside Auto Green
- Hold R2
- Push the left stick up toward the basket
- Press R3
- All three inputs are required
- Uses the same timing value as normal Auto Green
- If the full combination is not detected, you get a normal Auto Green shot
No Dip Shots
- Removes the dip portion of the jumpshot
- Makes the shot come out faster
- Trigger: L2 + Square
- This is a separate shot trigger and does not modify normal Auto Green behaviour
Tap Shot
- Turns the shot into a single-tap automated release
- Uses the stick click opposite your configured Shot Button
- Shot Button L3 = Tap Shot uses R3
- Shot Button R3 = Tap Shot uses L3
- Uses the Tap Speed value
- Holding R2 while triggering it gives the reverse motion
- Turning Tap Shot on disables Insta Shot
- Best used as an alternative to Auto Green rather than alongside it
Insta Shot
- Auto Green must be off
- Tap Shot must also be off
- Hold the stick click opposite your configured Shot Button
- Keep holding while getting into position
- Release the stick click to trigger the automated shot
- Holding R2 when releasing gives the reverse / fade motion
- Insta Speed controls its timing
- Stability can be used to alter how repeatable the stick movement is
RS Shooting
- Lets you shoot using the right stick
- Auto Green should be off
- Right stick up = normal shot
- Right stick down = reverse motion
- Flick and hold the right stick briefly
- Release it to trigger the shot
- Very short flicks may not register
Important Shooting Rule
- Pick one primary shooting system:
- Auto Green
- Tap Shot
- Insta Shot
- RS Shooting
- Running multiple shooting systems together can create conflicting inputs and inconsistent releases
- The guide recommends starting with Auto Green by itself
Stability
- Only affects Insta Shot
- Lower Stability Amount = tighter and more repeatable movement
- Higher Stability Amount = more variation and a more natural-looking movement
- Stability does nothing to Auto Green
Quick Stop
- Helps remove momentum before shooting
- Options:
- Off
- Auto QS
- L2 QS
- Auto QS activates automatically when pulling up from a sprint
- L2 QS only activates while holding L2
- Auto QS is easier to use
- L2 QS gives you more manual control
Infinite Stamina
- Works automatically when enabled
- Reduces how strongly your movement stick input is sent to the game
- This makes stamina drain much slower
- Trade-off: your top movement speed is slightly reduced
- If your player feels sluggish, turn Infinite Stamina off
- It gets out of the way while shooting or passing
Dribble Macros
- Each D-Pad direction has its own independent dribble slot
- Available moves:
- BTB Spam
- Curry
- DBook
- B Break
- Escape
- Momentum
- Off
- Press the assigned D-Pad direction once to perform the combo
- You do not need to hold the direction
- Pressing it again restarts the combo
- Setting a direction to Off restores that D-Pad direction's normal game function
- Leave at least one D-Pad direction free if you rely on normal D-Pad controls
Dribble Move Descriptions
- BTB Spam: rapid behind-the-back chain from one side to the other
- Curry: turbo-held double crossover with a pause between movements
- DBook: hesitation into a hard directional drive
- B Break: sharp double stick-back breakdown
- Escape: turbo side-to-side escape movement
- Momentum: stick-back into a turbo push in one direction
Defense Assist
- Turn Defense Assist on
- Hold L2 + R1 while defending
- Move using the left stick normally
- PEAK copies the left-stick movement onto the right stick
- Release either L2 or R1 to return to normal manual control
- R1's normal action is blocked while Defense Assist is active
Meter Dunk
- Turn Meter Dunk on
- Choose either L1 or Circle as your Dunk Button
- Drive at the basket
- Hold your chosen Dunk Button
- Keep holding through the dunk animation
- PEAK applies turbo and holds the required stick input for you
- You do not need to hold R2 as well
- It does not choose the dunk or guarantee the dunk succeeds; it handles the meter input
Dunk Button
- Options:
- L1
- Circle
- Circle may be preferable if you normally use L1 for icon passing
Spot Take
- Hold Cross
- PEAK rapidly presses Cross repeatedly
- Release Cross to stop
- Cross behaves normally whenever Spot Take is disabled
Instant Triggers
- Makes L2 and R2 register as fully pressed as soon as you touch them
- Useful for quicker sprinting and defensive/post inputs
- You lose partial-pressure trigger control
- L2 and R2 effectively become fully on or fully off
- Can also help with worn triggers that no longer reach full travel
Release Vibrator
- Gives a controller vibration cue when you reach a chosen manual shot timing
- It does not release the shot for you
- Set the Vibrator value to match your Auto Green Timing if you want to practise that exact release manually
- Can be used whether Auto Green is enabled or disabled
Overclock
- Runs PEAK at a faster internal polling rate
- Enabled by default
- Leave it on unless troubleshooting an unexplained stability problem
- It affects how quickly the script checks controller inputs, not your internet connection or the game itself
Combinations to Avoid
- Auto Green + Shot Button R3:
- R3 performs two actions at once
- Set Shot Button to L3 instead
- Auto Green + Insta Shot:
- Insta Shot will not operate properly
- Turn one of them off
- Auto Green + RS Shooting:
- Can cause inconsistent releases
- Pick one shooting system
Common Fixes
- Nothing responds:
- Check whether the Zen light is dim red
- If so, press L2 + Share to arm the script
- Make sure the controller is connected to the Zen's front port
- Shots are releasing early:
- Increase Auto Green Timing by roughly 10-15 ms
- Shots are releasing late:
- Decrease Auto Green Timing by roughly 10-15 ms
- Menu won't open:
- Hold L2 first
- Then press Options
- Settings suddenly changed/reset:
- You likely loaded a newly generated script
- New downloads apply their generated settings once on first boot
- D-Pad direction no longer performs its normal function:
- A dribble macro is assigned to that direction
- Set that direction to Off
- Player feels slow:
- Infinite Stamina slightly limits top movement speed
- Turn it off
Réglages recommandés
Useful Starting Setups
First Timer:
- Auto Green: On
- Auto Green Timing: use your build-height starting value
- Release Vibrator: On
- Instant Triggers: On
- Everything else: Off
Guard:
- Auto Green: On
- Auto Green Fades: On
- Quick Stop: Auto QS
- Dribble Up: Curry
- Dribble Left: Escape
- Dribble Right: Escape
- Infinite Stamina: On
Big Man:
- Auto Green: On
- Meter Dunk: On
- Dunk Button: L1
- Defense Assist: On
- Infinite Stamina: On
- No Dip Shots: On
Lockdown:
- Defense Assist: On
- Instant Triggers: On
- Infinite Stamina: On
- Quick Stop: L2 QS
- Auto Green: On
Auto Green Timing Guide
- Controls how many milliseconds the shoot button is held before PEAK releases it
- Range: 1-1000 ms
- Default: 610 ms
- Early release = increase timing
- Late release = decrease timing
- Adjust by roughly 10-15 ms at a time
- This is the main value you should tune
Tap Speed
- Controls Tap Shot release timing
- Range: 100-1000 ms
- Default: 500 ms
- Increase if the Tap Shot release is early
- Decrease if it is late
Insta Speed
- Controls how long Insta Shot charges before release
- Range: 100-1000 ms
- Default: 700 ms
- Higher value = longer charge
Stability Amount
- Only affects Insta Shot
- Range: 10-100
- Default: 34
- Lower = tighter / more repeatable
- Higher = more variation / more natural-looking
- Around 30-40 is suggested as a middle ground
Release Vibrator Timing
- Controls when the vibration cue activates during a manual shot
- Range: 200-1000 ms
- Default: 450 ms
- Set it to your Auto Green Timing if you want the vibration to indicate your Auto Green release point
Important Value Tuning Notes
- Height values are starting points, not guaranteed perfect timings
- Different jumpshots can require different timings even at the same height
- Connection can also affect the ideal timing
- If Auto Green releases early, add roughly 10-15 ms
- If Auto Green releases late, subtract roughly 10-15 ms
- Change one value at a time
- Test a proper sample of shots before changing the value again
- Once you find a good value, save/write it down so you can use it again in the generator