DIE GESAMTE ZEN-SKRIPTBIBLIOTHEK FREISCHALTEN
Zugriff auf 2.000+ Skripte – noch heute!






SOFORT ZUGRIFF ERHALTEN
100+ kostenlose Scripts • 5 Premium-Scripts pro Woche • Keine Kreditkarte erforderlich
4,8/5 von 40.000+ Nutzern



Ultimate
NBA 2k27
Peak


Skriptdetails
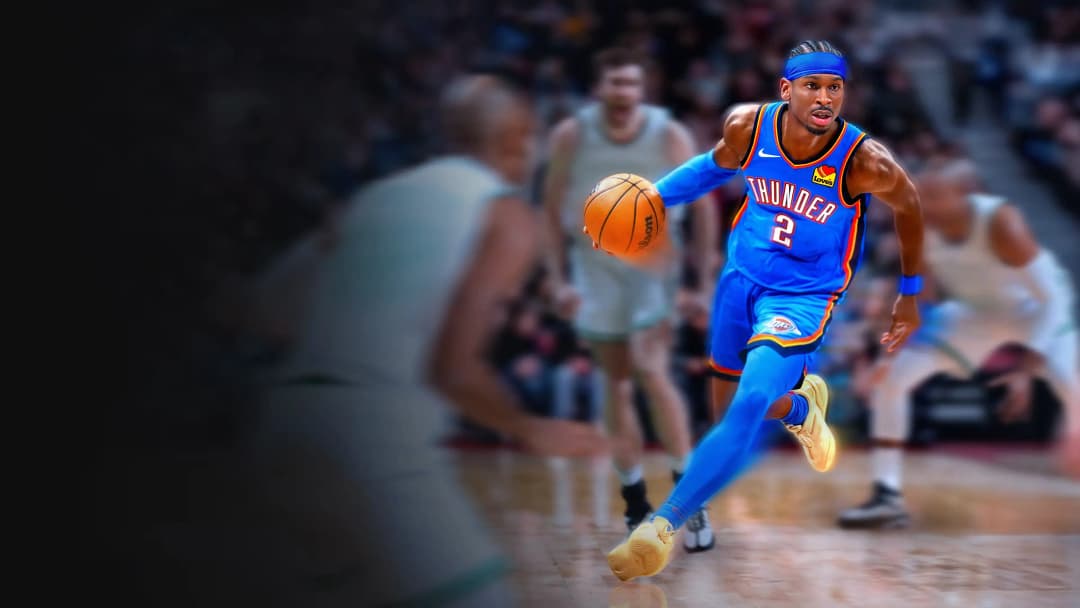
Peak ist ein Cronus Zen Script für NBA 2K27 von SkyGPC mit Auto-Green und Rhythm Shooting. Der Zugriff hängt von deinem Cronus Zen Central-Konto und deinem aktuellen Tarif ab.
Funktionen

Mod-Menü
Dieses Skript enthält ein anpassbares Mod-Menü

Werte
Dieses Skript enthält empfohlene Werte

Anleitungen
Dieses Skript enthält eine Anleitung
Anleitungen
Core Controls
- Open / close menu: L2 + Options
- Arm / disarm entire script: L2 + Share
- Dim red Zen light = script is disarmed
- Auto Green trigger: R3
- Normal Shot Button: L3 or R3
- If using Auto Green, set Shot Button to L3 so R3 stays dedicated to Auto Green
- Menu navigation:
- Up / Down = move between mods
- Left / Right = change setting
- Cross = edit a numerical value
- Circle = back / save
- Hold L2 while adjusting a value to make larger changes
- Settings save automatically after you change them
Auto Green
- Auto Green automatically handles your shot release timing
- Press R3 once
- PEAK presses the shoot button, holds it for your Auto Green Timing value, then releases it
- Do not hold R3; one click is enough
- You still control when and where you shoot
- Auto Green Timing is the most important value in the script
- If shots release early, increase Auto Green Timing
- If shots release late, decrease Auto Green Timing
- Adjust in roughly 10-15 ms increments
- Test around 10-15 shots before changing it again
- Holding R1 prevents Auto Green from shooting and allows passing normally
Auto Green Fades
- Works alongside Auto Green
- Hold R2
- Push the left stick up toward the basket
- Press R3
- All three inputs are required
- Uses the same timing value as normal Auto Green
- If the full combination is not detected, you get a normal Auto Green shot
No Dip Shots
- Removes the dip portion of the jumpshot
- Makes the shot come out faster
- Trigger: L2 + Square
- This is a separate shot trigger and does not modify normal Auto Green behaviour
Tap Shot
- Turns the shot into a single-tap automated release
- Uses the stick click opposite your configured Shot Button
- Shot Button L3 = Tap Shot uses R3
- Shot Button R3 = Tap Shot uses L3
- Uses the Tap Speed value
- Holding R2 while triggering it gives the reverse motion
- Turning Tap Shot on disables Insta Shot
- Best used as an alternative to Auto Green rather than alongside it
Insta Shot
- Auto Green must be off
- Tap Shot must also be off
- Hold the stick click opposite your configured Shot Button
- Keep holding while getting into position
- Release the stick click to trigger the automated shot
- Holding R2 when releasing gives the reverse / fade motion
- Insta Speed controls its timing
- Stability can be used to alter how repeatable the stick movement is
RS Shooting
- Lets you shoot using the right stick
- Auto Green should be off
- Right stick up = normal shot
- Right stick down = reverse motion
- Flick and hold the right stick briefly
- Release it to trigger the shot
- Very short flicks may not register
Important Shooting Rule
- Pick one primary shooting system:
- Auto Green
- Tap Shot
- Insta Shot
- RS Shooting
- Running multiple shooting systems together can create conflicting inputs and inconsistent releases
- The guide recommends starting with Auto Green by itself
Stability
- Only affects Insta Shot
- Lower Stability Amount = tighter and more repeatable movement
- Higher Stability Amount = more variation and a more natural-looking movement
- Stability does nothing to Auto Green
Quick Stop
- Helps remove momentum before shooting
- Options:
- Off
- Auto QS
- L2 QS
- Auto QS activates automatically when pulling up from a sprint
- L2 QS only activates while holding L2
- Auto QS is easier to use
- L2 QS gives you more manual control
Infinite Stamina
- Works automatically when enabled
- Reduces how strongly your movement stick input is sent to the game
- This makes stamina drain much slower
- Trade-off: your top movement speed is slightly reduced
- If your player feels sluggish, turn Infinite Stamina off
- It gets out of the way while shooting or passing
Dribble Macros
- Each D-Pad direction has its own independent dribble slot
- Available moves:
- BTB Spam
- Curry
- DBook
- B Break
- Escape
- Momentum
- Off
- Press the assigned D-Pad direction once to perform the combo
- You do not need to hold the direction
- Pressing it again restarts the combo
- Setting a direction to Off restores that D-Pad direction's normal game function
- Leave at least one D-Pad direction free if you rely on normal D-Pad controls
Dribble Move Descriptions
- BTB Spam: rapid behind-the-back chain from one side to the other
- Curry: turbo-held double crossover with a pause between movements
- DBook: hesitation into a hard directional drive
- B Break: sharp double stick-back breakdown
- Escape: turbo side-to-side escape movement
- Momentum: stick-back into a turbo push in one direction
Defense Assist
- Turn Defense Assist on
- Hold L2 + R1 while defending
- Move using the left stick normally
- PEAK copies the left-stick movement onto the right stick
- Release either L2 or R1 to return to normal manual control
- R1's normal action is blocked while Defense Assist is active
Meter Dunk
- Turn Meter Dunk on
- Choose either L1 or Circle as your Dunk Button
- Drive at the basket
- Hold your chosen Dunk Button
- Keep holding through the dunk animation
- PEAK applies turbo and holds the required stick input for you
- You do not need to hold R2 as well
- It does not choose the dunk or guarantee the dunk succeeds; it handles the meter input
Dunk Button
- Options:
- L1
- Circle
- Circle may be preferable if you normally use L1 for icon passing
Spot Take
- Hold Cross
- PEAK rapidly presses Cross repeatedly
- Release Cross to stop
- Cross behaves normally whenever Spot Take is disabled
Instant Triggers
- Makes L2 and R2 register as fully pressed as soon as you touch them
- Useful for quicker sprinting and defensive/post inputs
- You lose partial-pressure trigger control
- L2 and R2 effectively become fully on or fully off
- Can also help with worn triggers that no longer reach full travel
Release Vibrator
- Gives a controller vibration cue when you reach a chosen manual shot timing
- It does not release the shot for you
- Set the Vibrator value to match your Auto Green Timing if you want to practise that exact release manually
- Can be used whether Auto Green is enabled or disabled
Overclock
- Runs PEAK at a faster internal polling rate
- Enabled by default
- Leave it on unless troubleshooting an unexplained stability problem
- It affects how quickly the script checks controller inputs, not your internet connection or the game itself
Combinations to Avoid
- Auto Green + Shot Button R3:
- R3 performs two actions at once
- Set Shot Button to L3 instead
- Auto Green + Insta Shot:
- Insta Shot will not operate properly
- Turn one of them off
- Auto Green + RS Shooting:
- Can cause inconsistent releases
- Pick one shooting system
Common Fixes
- Nothing responds:
- Check whether the Zen light is dim red
- If so, press L2 + Share to arm the script
- Make sure the controller is connected to the Zen's front port
- Shots are releasing early:
- Increase Auto Green Timing by roughly 10-15 ms
- Shots are releasing late:
- Decrease Auto Green Timing by roughly 10-15 ms
- Menu won't open:
- Hold L2 first
- Then press Options
- Settings suddenly changed/reset:
- You likely loaded a newly generated script
- New downloads apply their generated settings once on first boot
- D-Pad direction no longer performs its normal function:
- A dribble macro is assigned to that direction
- Set that direction to Off
- Player feels slow:
- Infinite Stamina slightly limits top movement speed
- Turn it off
Empfohlene Werte
Useful Starting Setups
First Timer:
- Auto Green: On
- Auto Green Timing: use your build-height starting value
- Release Vibrator: On
- Instant Triggers: On
- Everything else: Off
Guard:
- Auto Green: On
- Auto Green Fades: On
- Quick Stop: Auto QS
- Dribble Up: Curry
- Dribble Left: Escape
- Dribble Right: Escape
- Infinite Stamina: On
Big Man:
- Auto Green: On
- Meter Dunk: On
- Dunk Button: L1
- Defense Assist: On
- Infinite Stamina: On
- No Dip Shots: On
Lockdown:
- Defense Assist: On
- Instant Triggers: On
- Infinite Stamina: On
- Quick Stop: L2 QS
- Auto Green: On
Auto Green Timing Guide
- Controls how many milliseconds the shoot button is held before PEAK releases it
- Range: 1-1000 ms
- Default: 610 ms
- Early release = increase timing
- Late release = decrease timing
- Adjust by roughly 10-15 ms at a time
- This is the main value you should tune
Tap Speed
- Controls Tap Shot release timing
- Range: 100-1000 ms
- Default: 500 ms
- Increase if the Tap Shot release is early
- Decrease if it is late
Insta Speed
- Controls how long Insta Shot charges before release
- Range: 100-1000 ms
- Default: 700 ms
- Higher value = longer charge
Stability Amount
- Only affects Insta Shot
- Range: 10-100
- Default: 34
- Lower = tighter / more repeatable
- Higher = more variation / more natural-looking
- Around 30-40 is suggested as a middle ground
Release Vibrator Timing
- Controls when the vibration cue activates during a manual shot
- Range: 200-1000 ms
- Default: 450 ms
- Set it to your Auto Green Timing if you want the vibration to indicate your Auto Green release point
Important Value Tuning Notes
- Height values are starting points, not guaranteed perfect timings
- Different jumpshots can require different timings even at the same height
- Connection can also affect the ideal timing
- If Auto Green releases early, add roughly 10-15 ms
- If Auto Green releases late, subtract roughly 10-15 ms
- Change one value at a time
- Test a proper sample of shots before changing the value again
- Once you find a good value, save/write it down so you can use it again in the generator